Sorry for my absence lately! Things have been so busy I haven't had a chance to add my manis to the blog. Here is what has been going on mani-wise for the past week or so:
1)
Gator Mani
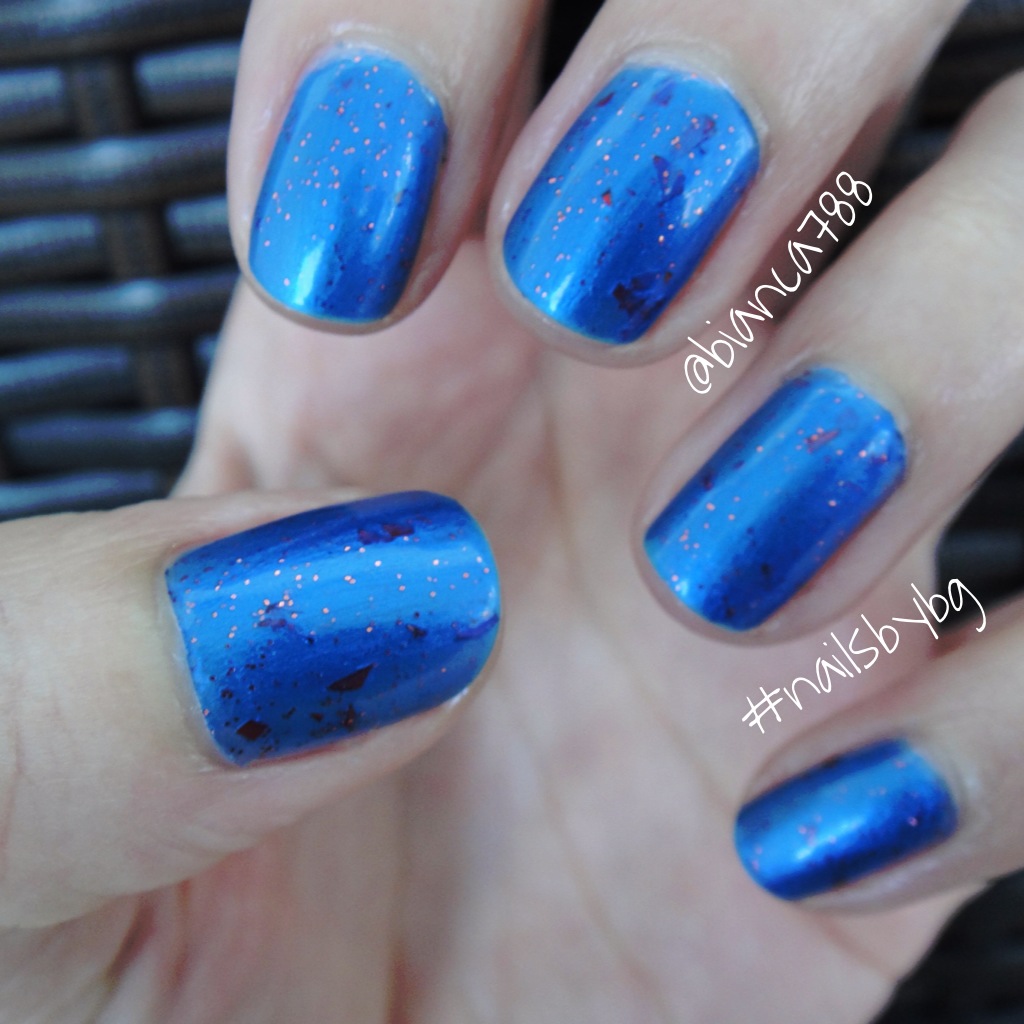
Kunimitsu
Lucky Goldfish- sheer blue jelly with copper/orange glitter; opaque in 3 coats
Zoya Pixie Dust
Dhara- textured bright orange pixie dust; opaque in 2 thin coats
Glossy Glam top coat- a new standard in my mani routine
 |
| the game did not go so well...but I was loving this mani! GO GATORS!!! |
2)
Rica True Blood Collection-
Shifter
First of all, I am
absolutely in love with this polish. I love black and I love grey. This is both (it is a thermal color changing polish). Oh, and by the way...it is also a beautiful holo that shines "bright like a diamond" in the sunlight. The application was a
dream. Two easy coats and it was perfection. I finished it off with a
Glossy Glam top coat and I was done. I wore this mani for several days because I just did not want to take it off. I also got
Fang Banger and
Blood of Lilith from the Rica True Blood Collection. I have not tried them yet, but I probably will sometime this week. I am also lusting after the rest of this awesome collection. You can find it on
Justricarda on Etsy. Re-stock will be live this Friday (I think). Check me out on instagram (@bianca788) for a video of
Shifter changing colors!
 |
| not the best picture, but I love that you can see the sparkle! |
3) Zoya Pixie Dust
Carter- royal purple textured pixie dust; opaque in 2 coats
and...I did not photograph this mani. fail. I love this color so much that I wore it for my bachelorette weekend. Next time I use it, I will definitely make sure to take a picture of this sparkly gem.
4) Pretty & Polished
When Hearts Kaleidoscope- raspberry glitter packed crelly from the Pretty & Polished Fall 2013 collection; opaque in 2 coats
I used Gelous to smooth out this polish and then added a coat of Seche Vite on top.
 |
| I love all the berry and gold glitter particles! |
This concludes my monster blog post! Sorry for the major delay in posting these, but I can't promise that it won't happen again ;)
love,
B